(sorry)
I always wanted to give this a try – I have done some lino cuts and I kinda enjoy sitting around and scratching things for hours I guess.
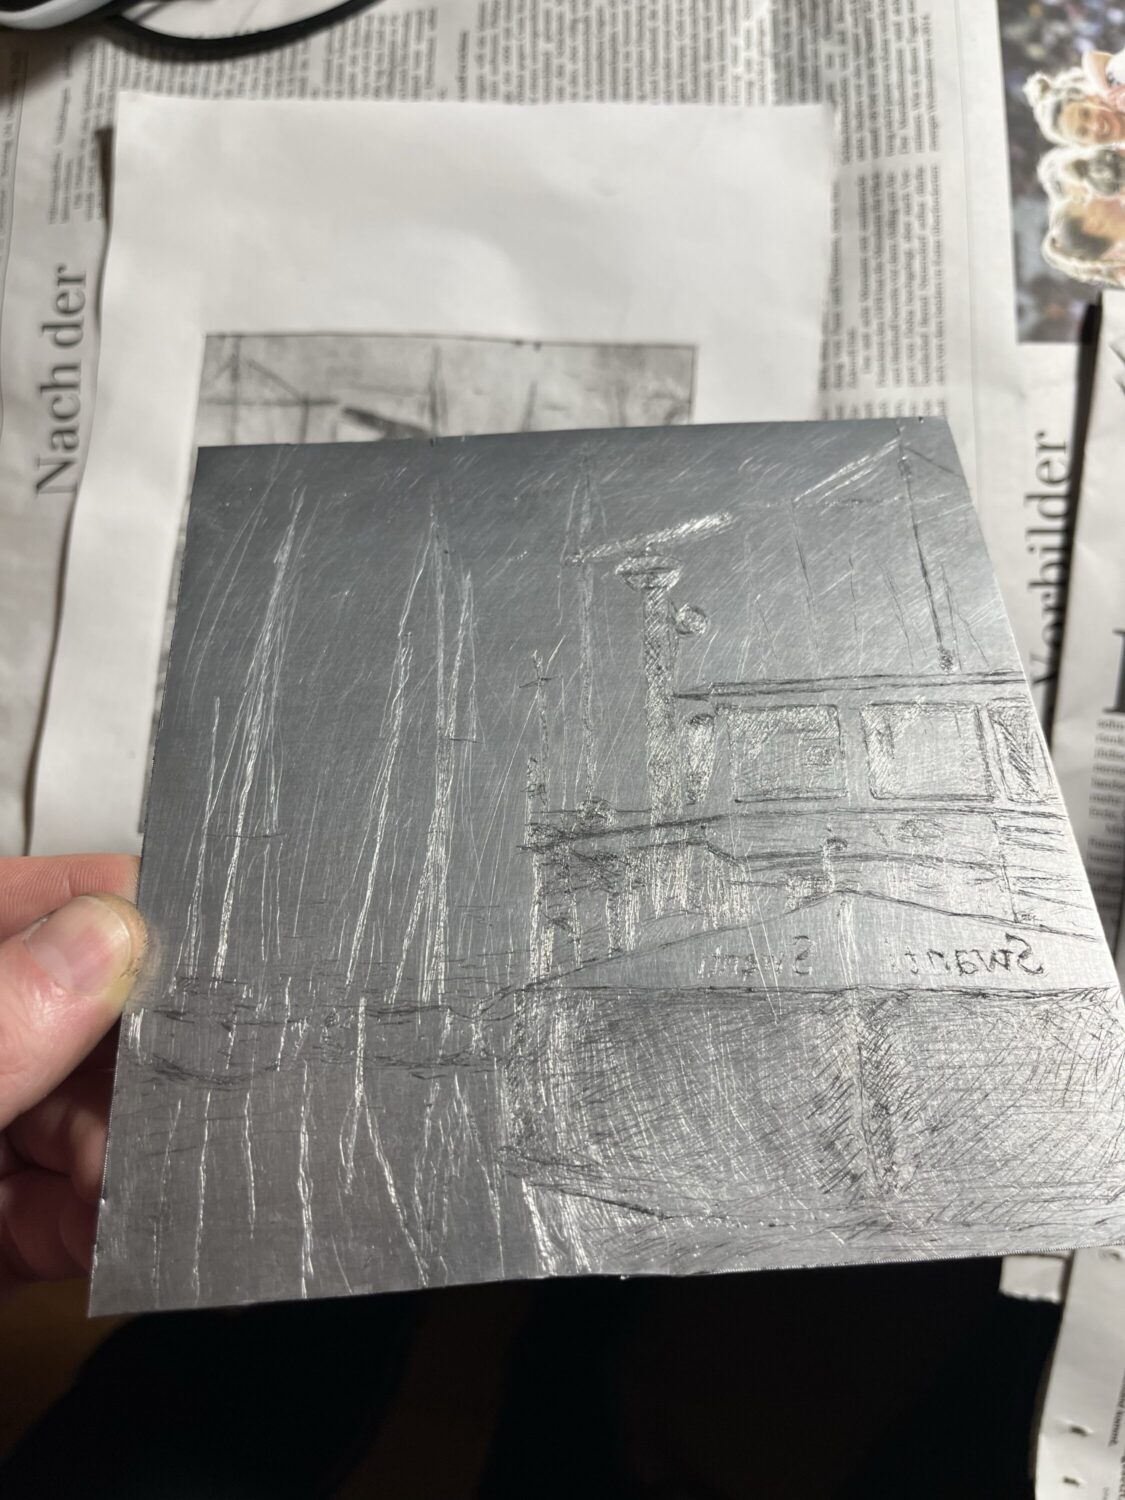
Drypoint is harder to print than lino cuts because it’s intaglio, i.e. the ink goes inside the sunken areas (with lino cuts the ink sits on the remaining raised areas). But that also means it’s a bit easier to create the plate because it’s just like drawing – you scratch the things that will turn black (in lino cuts you do the exact opposite).
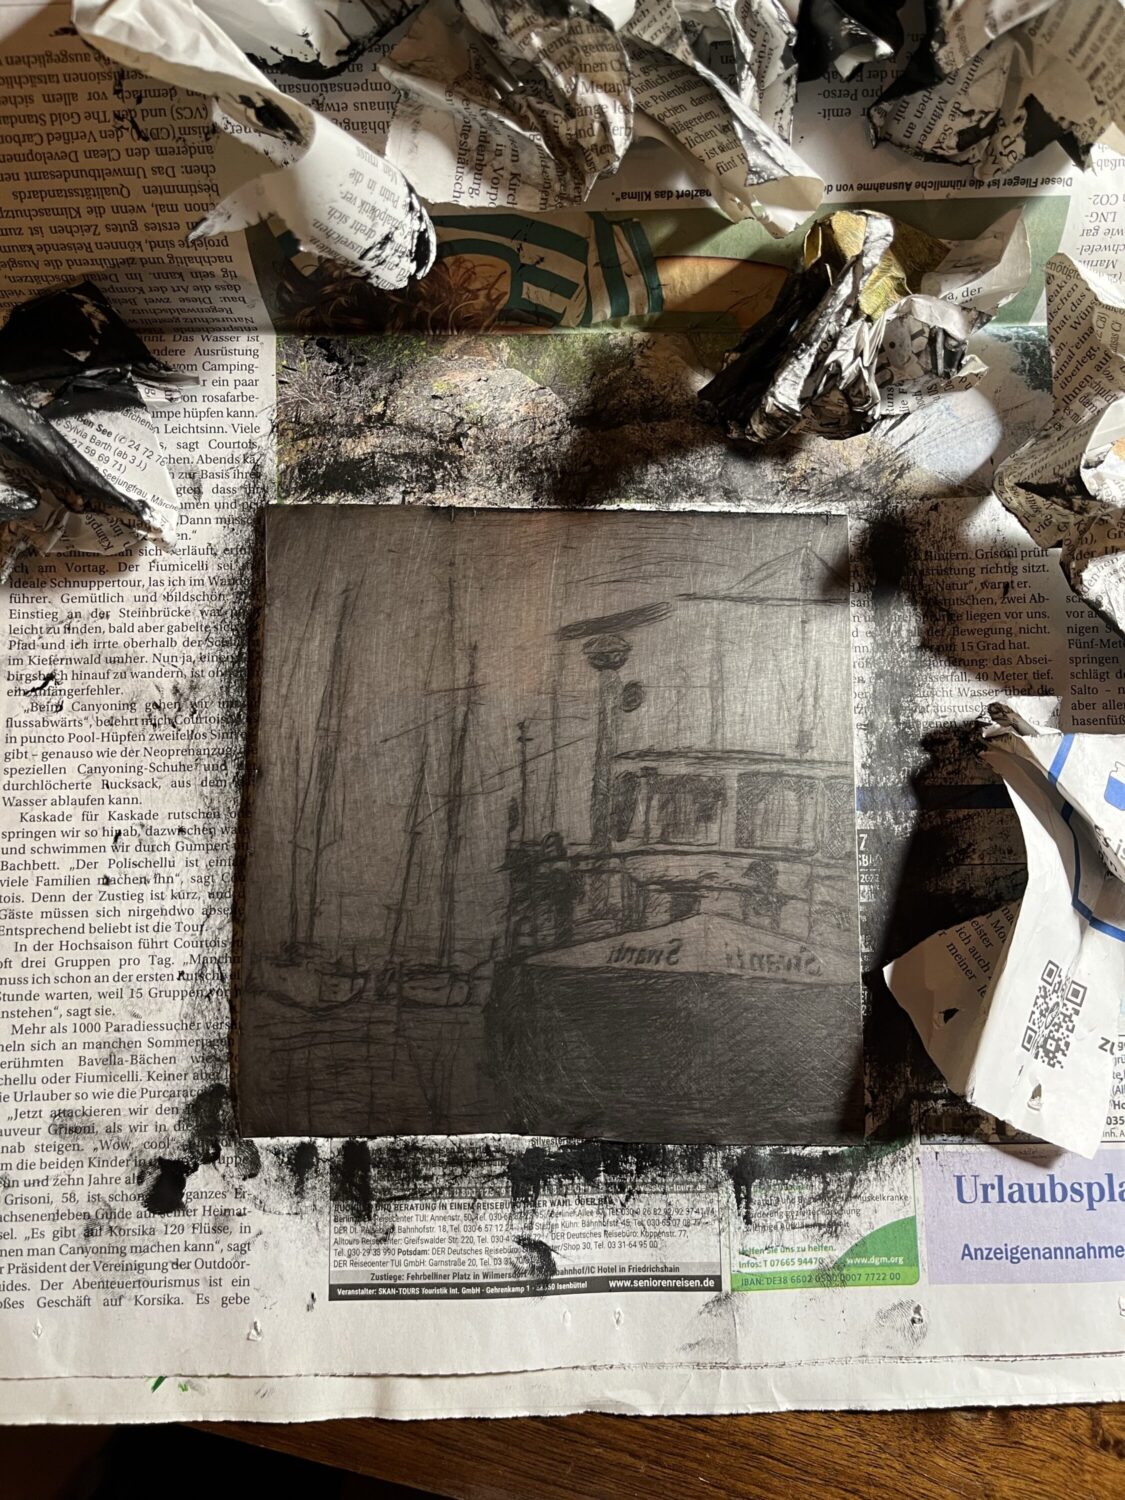
I always thought it’s actually impossible to print drypoint without a printing press but that’s not really true. It’s just fucking annoying. Wet cotton-rag based paper and something like a wooden spoon or so to rub it into the plate does work. But it’s not quick or easy.
I have seen people on the Internet[TM] use cheap pasta presses as makeshift printing presses, and I’ll try that next. I kinda hate the printing part of it all, and maybe that makes it a bit more enjoyable.
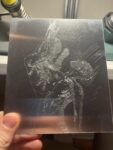
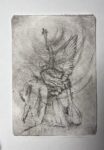
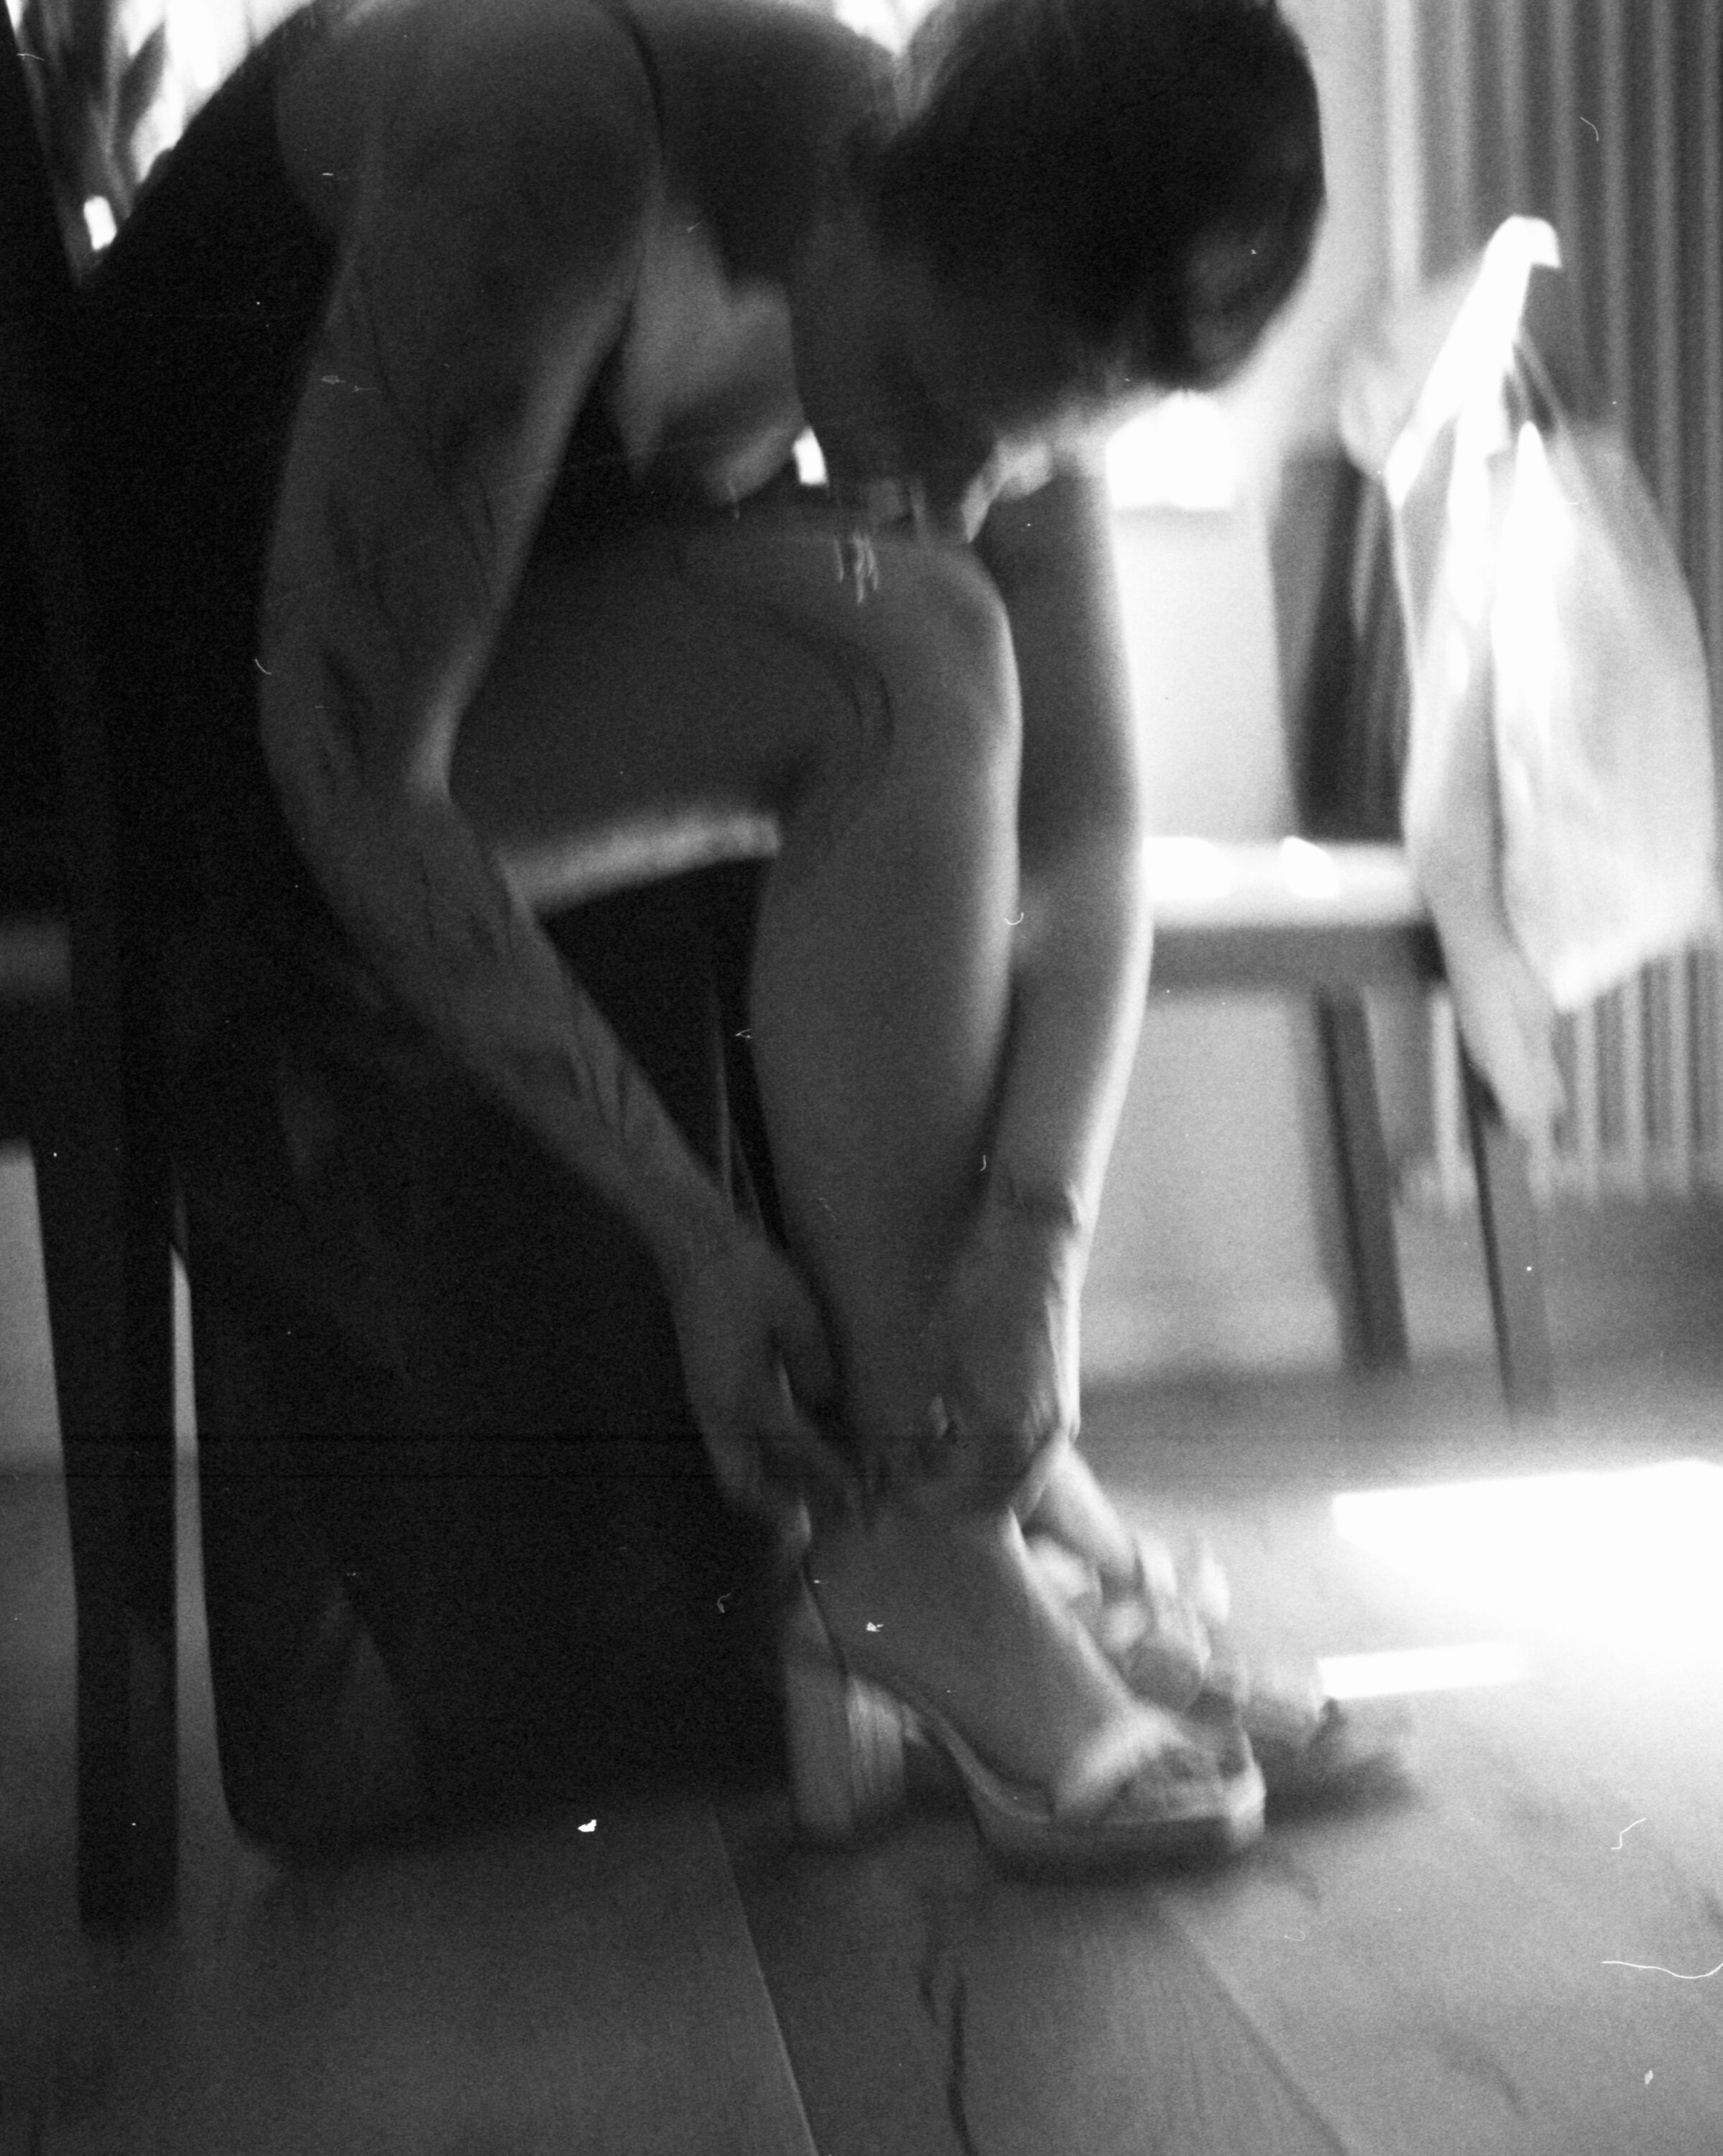
Anyway, I had some aluminium sheet metal lying around, as one does, and got a steel drypoint needle (basically just a steel needle with a wooden handle) and tried it. And it turned out alright…ish. For the fact that I can’t really draw to save my life, but maybe this is a good way to practice.
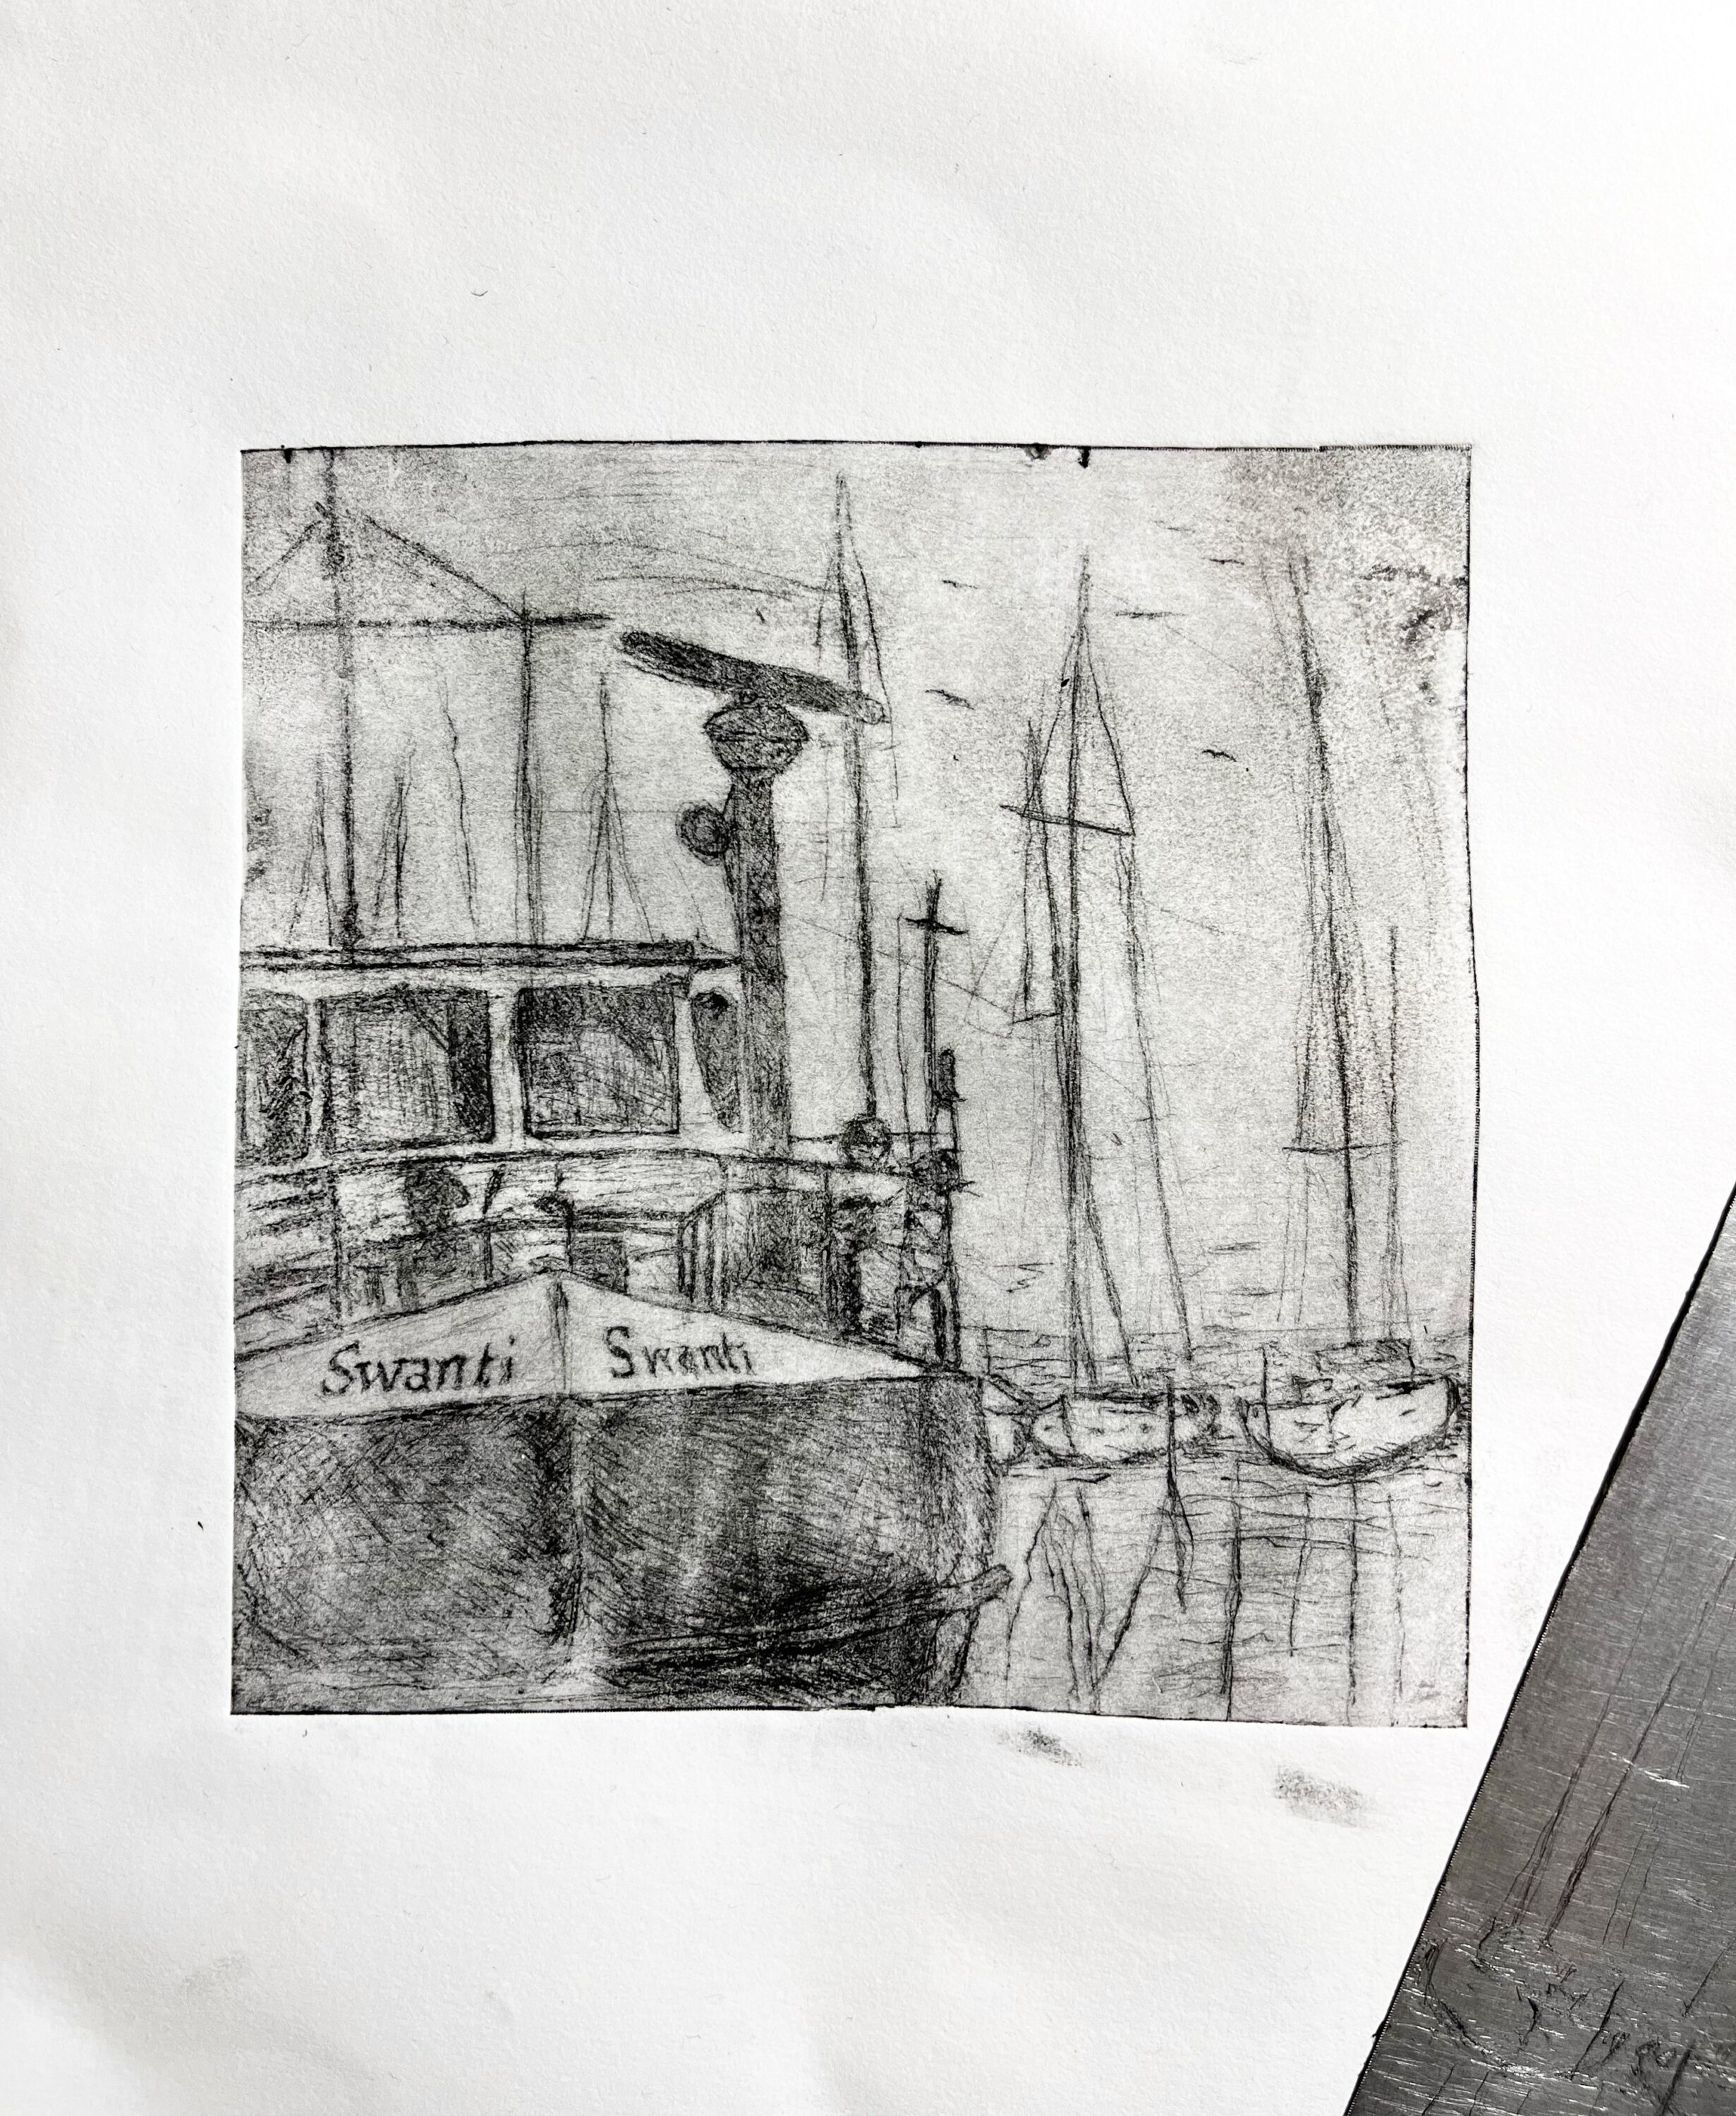
I think apart from the pasta press thing, I’ll be a bit more careful with how I scratch the plate next time. For this, I was basically using the needle like a pencil. And that does work, but I got some elements much too dark and some too light and I think it would all look a bit better with more deliberate scratches.
I also used some sand paper in areas (in too many areas to be honest) and ya – a bit more thought should go into everything next time.
(the subject is from a photograph, I can’t do these sort of things free-hand)


Leave a Reply